


Log Rot Repair in Moultonborough, New Hampshire
Log rot repair around a bay window
This log rot repair in Moultonborough, NH, started with water damage on both sides of a bay window. The homeowner wanted the damaged exterior wood repaired while keeping the room’s existing finish.

Preserving the interior finish
The repair approach had to account for both sides of the wall. Removing the damaged outer portions of the logs allowed the crew to retain sound material on the interior side.
Fitting replacement half-logs
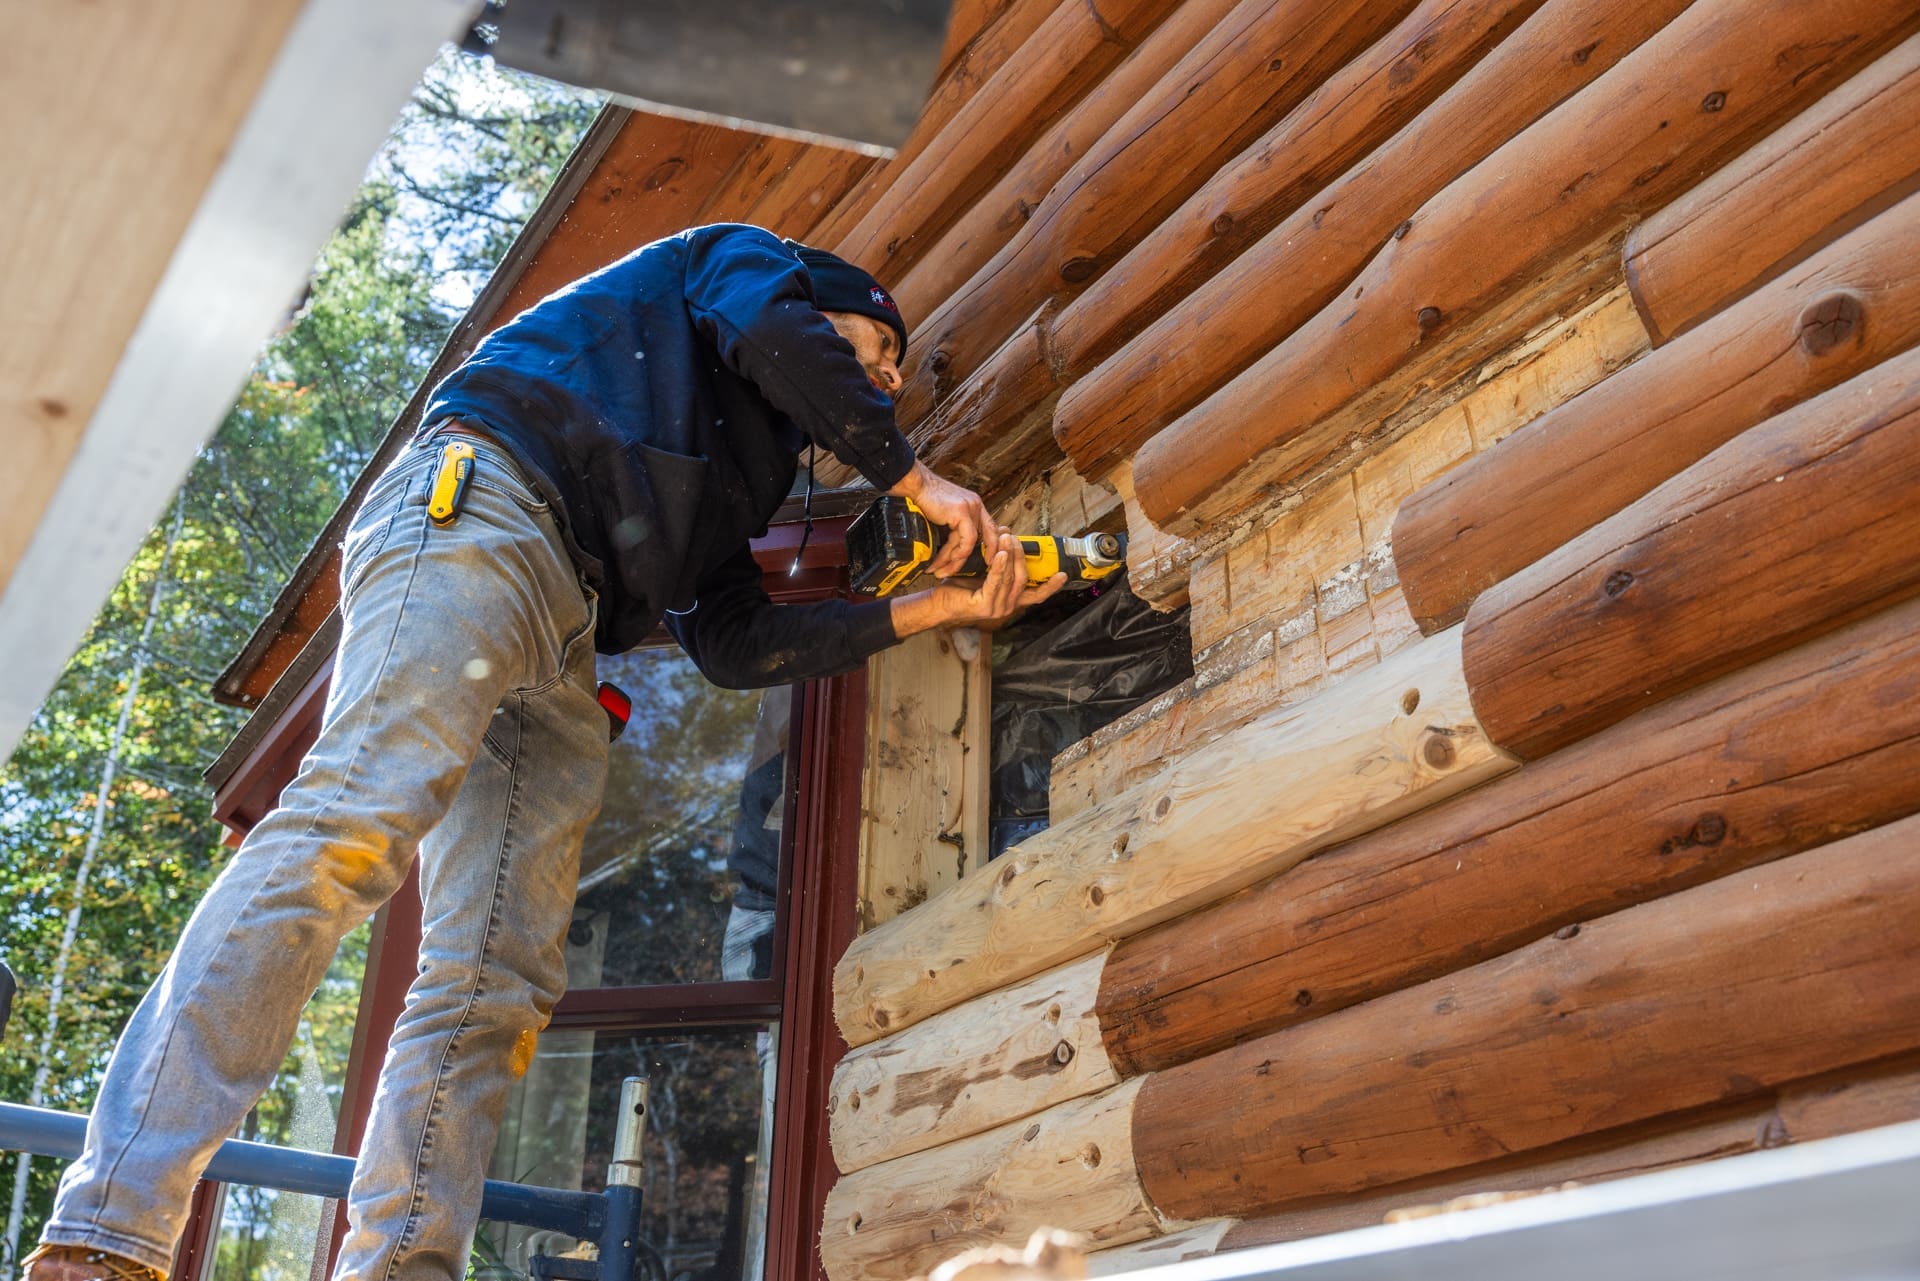
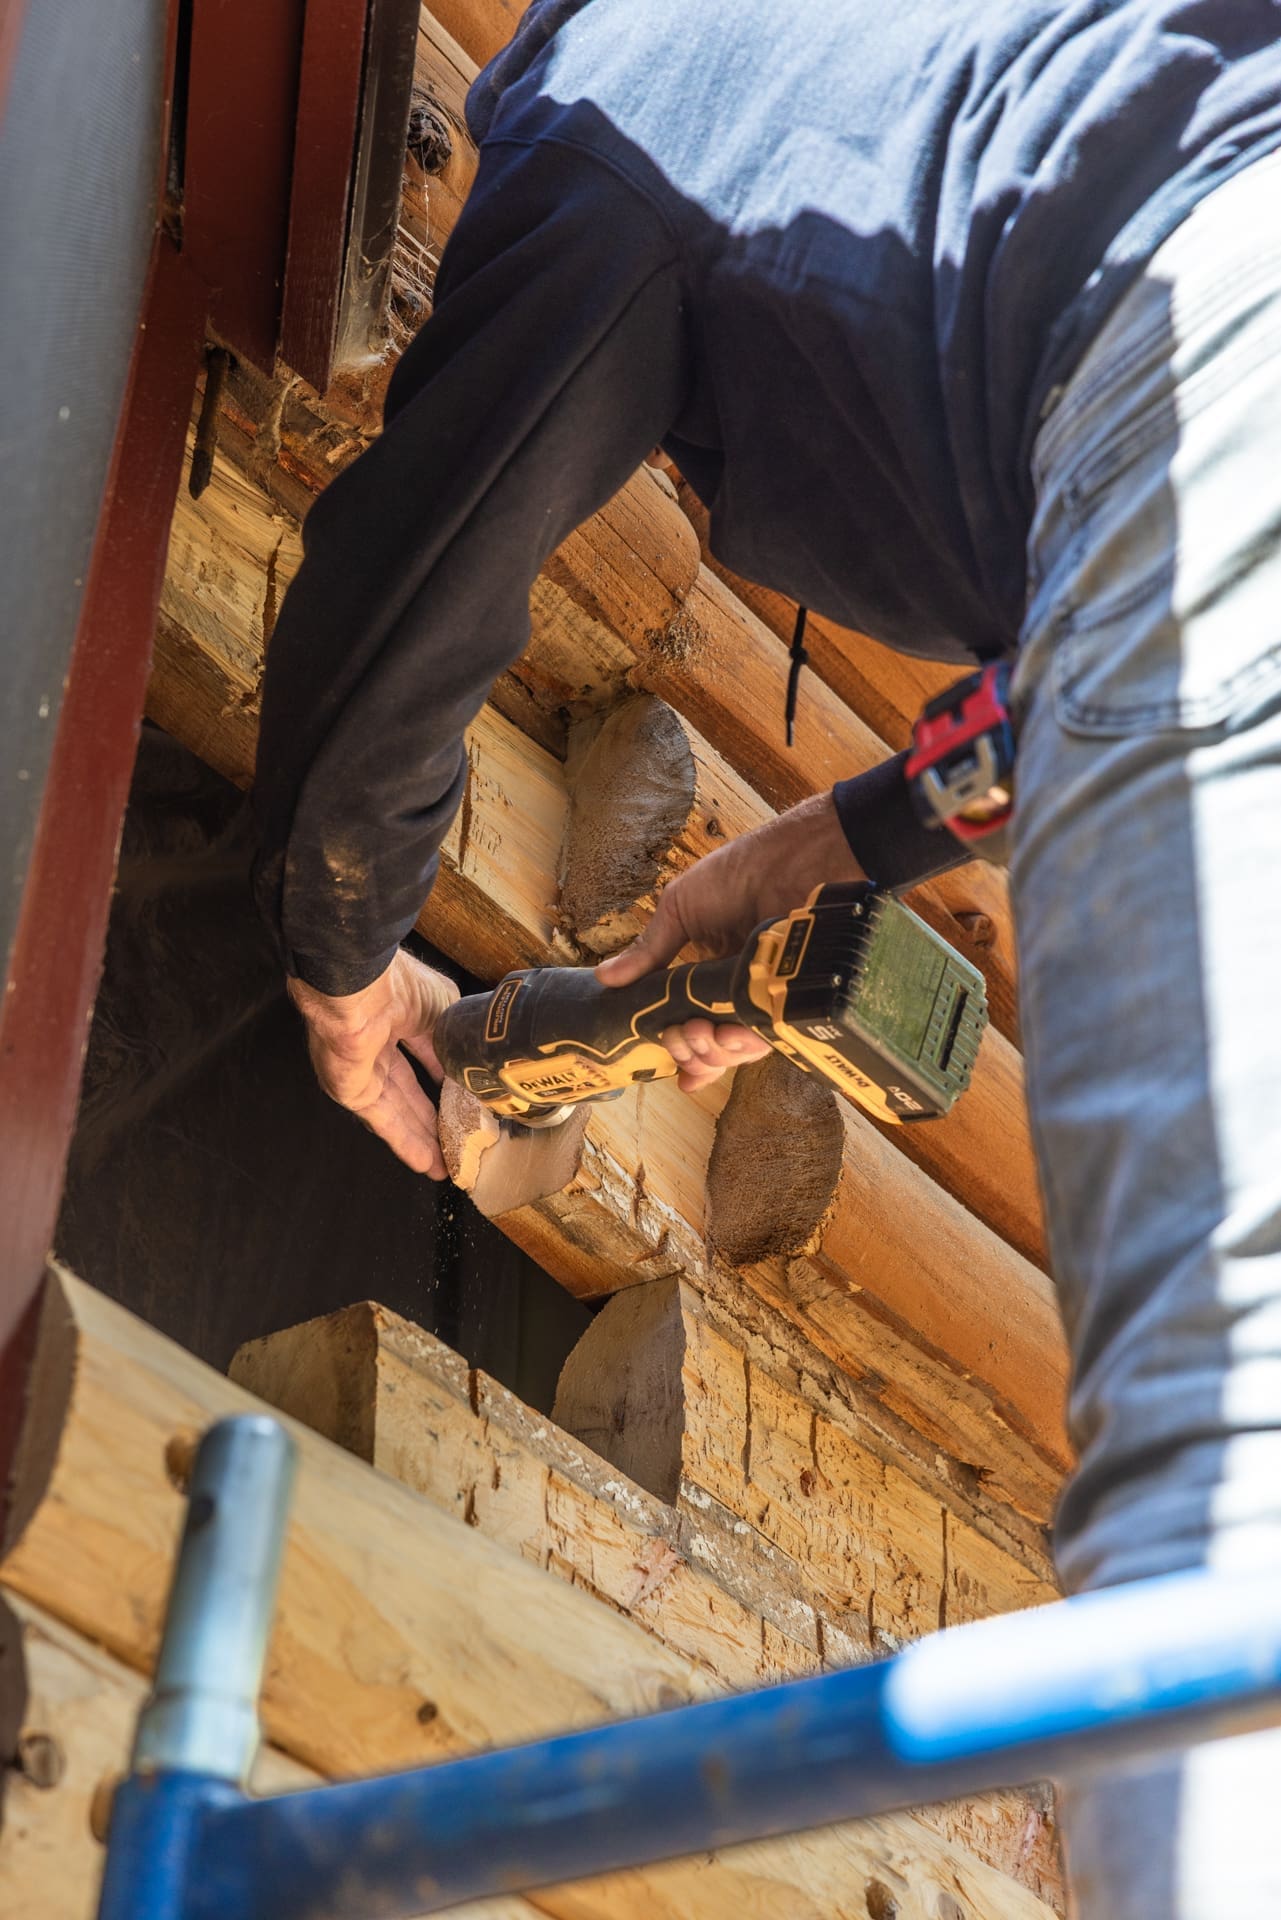
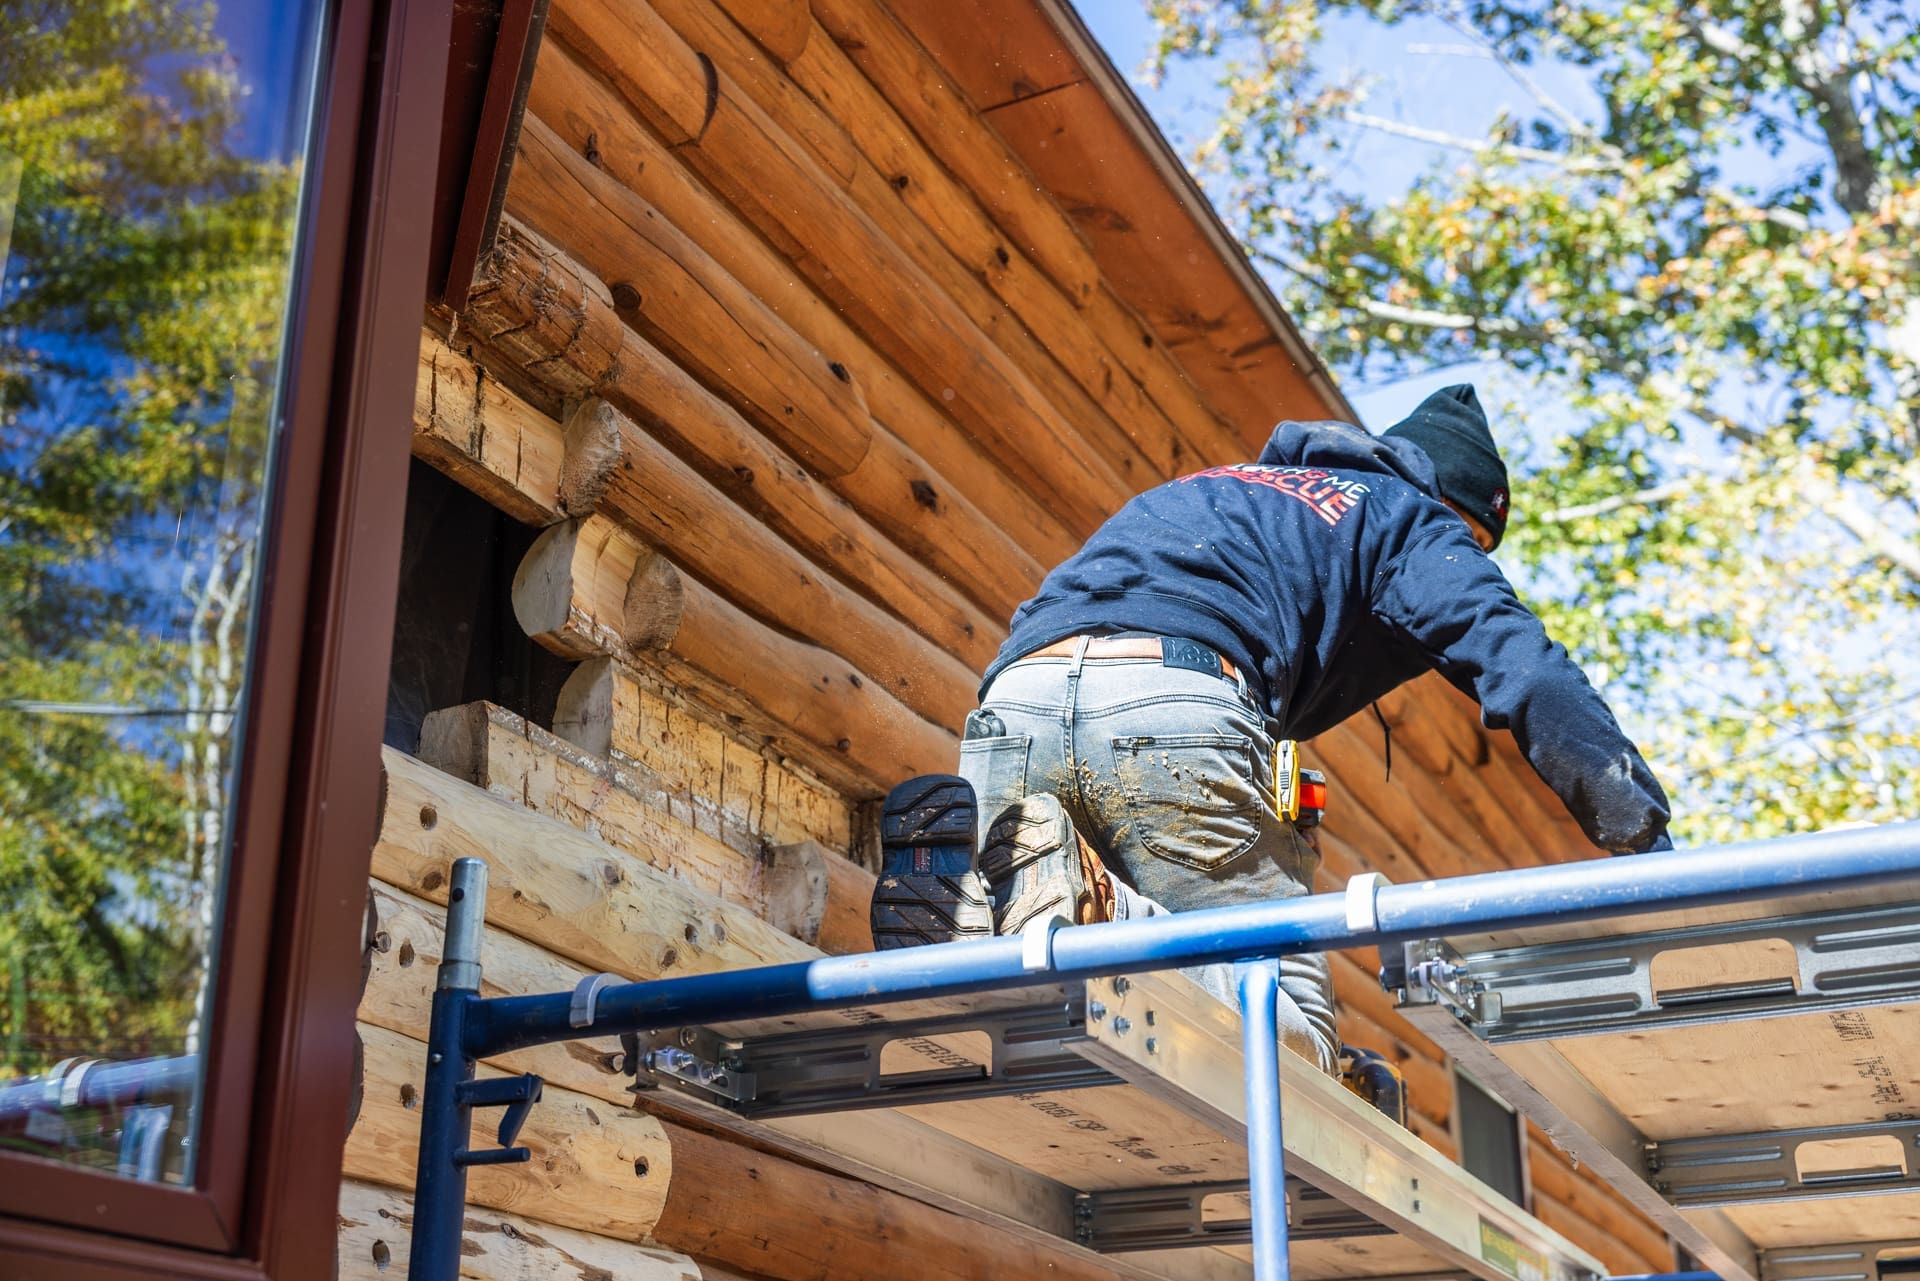
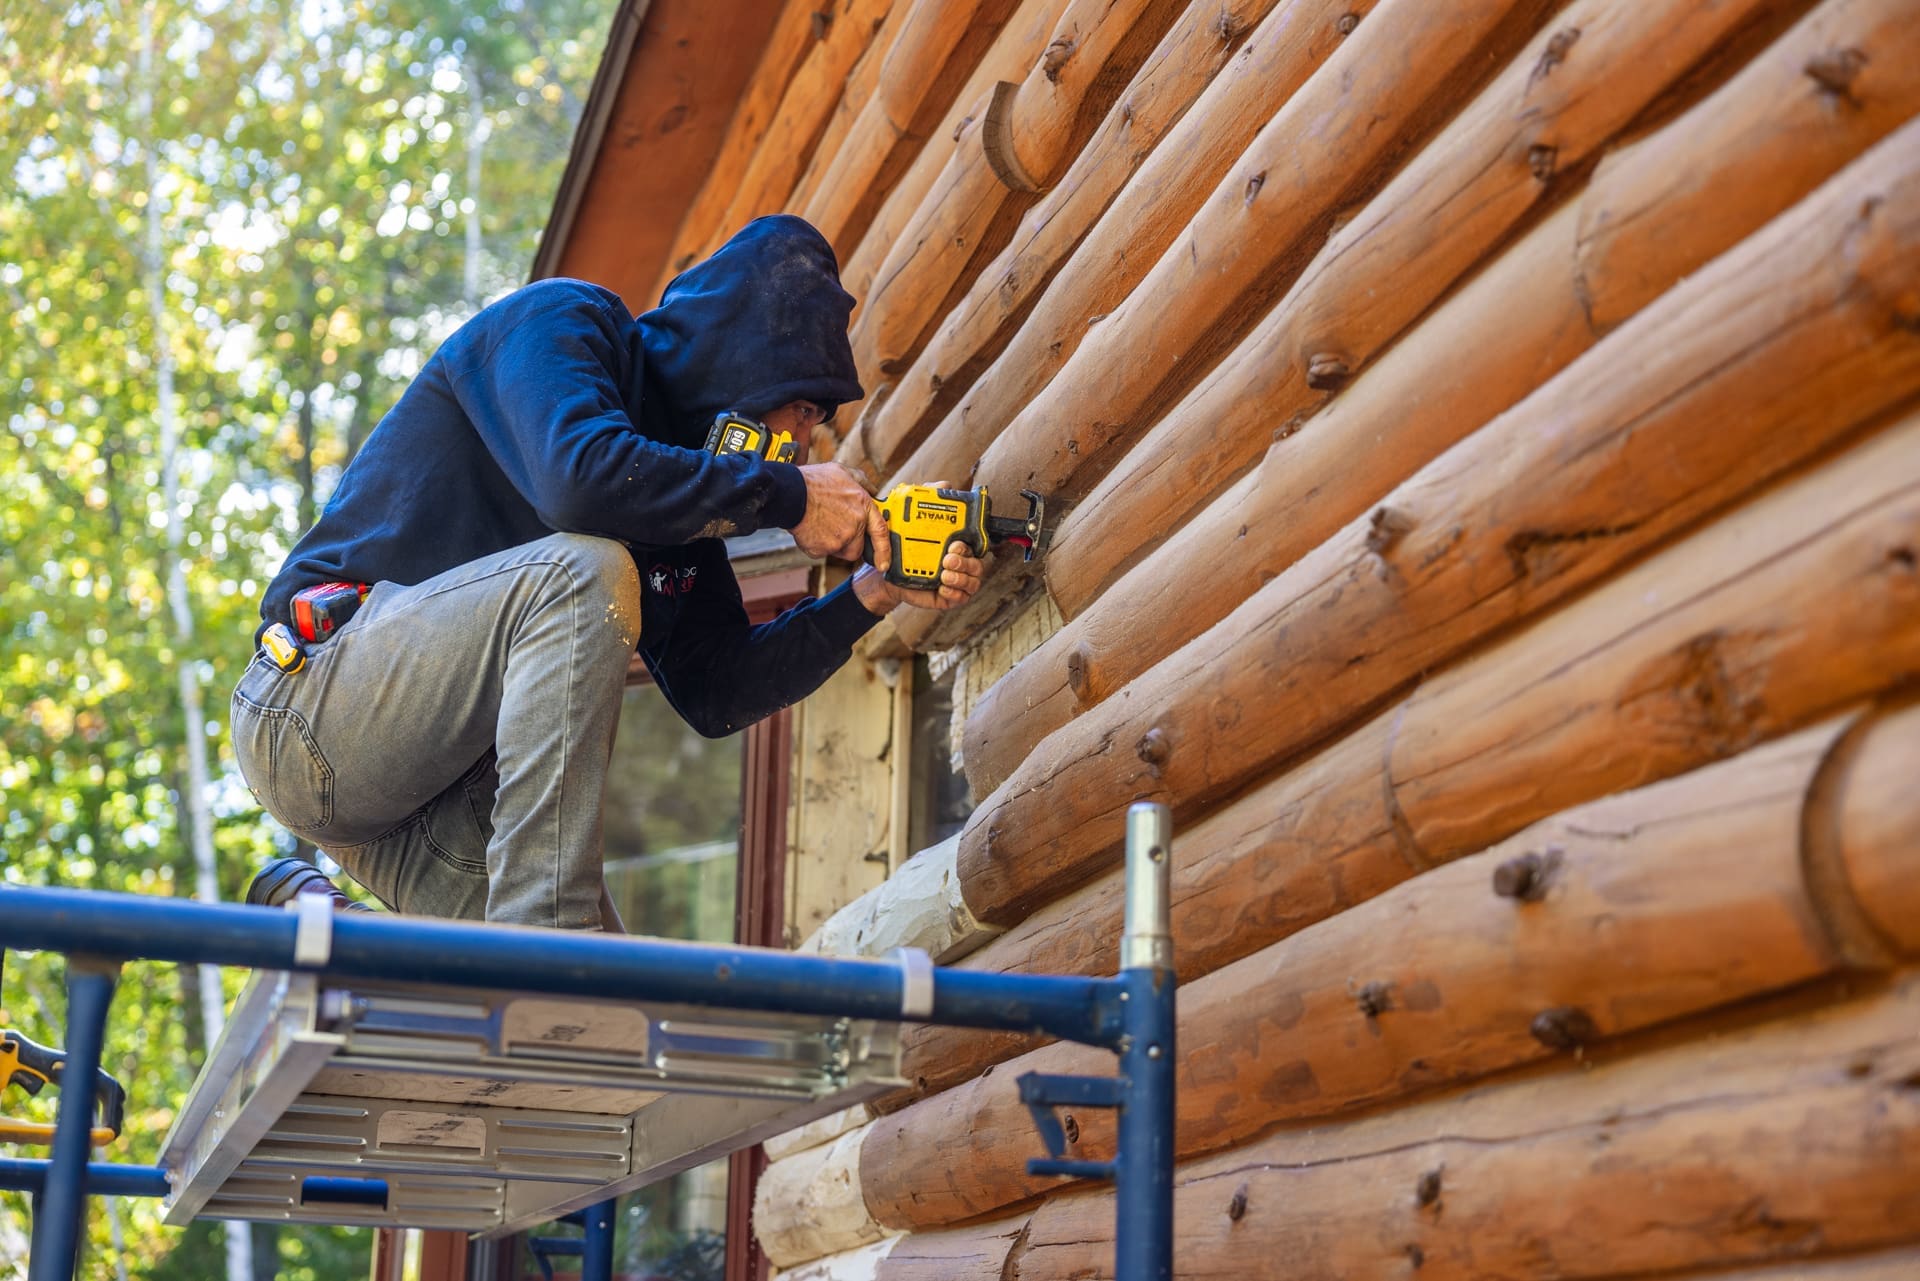
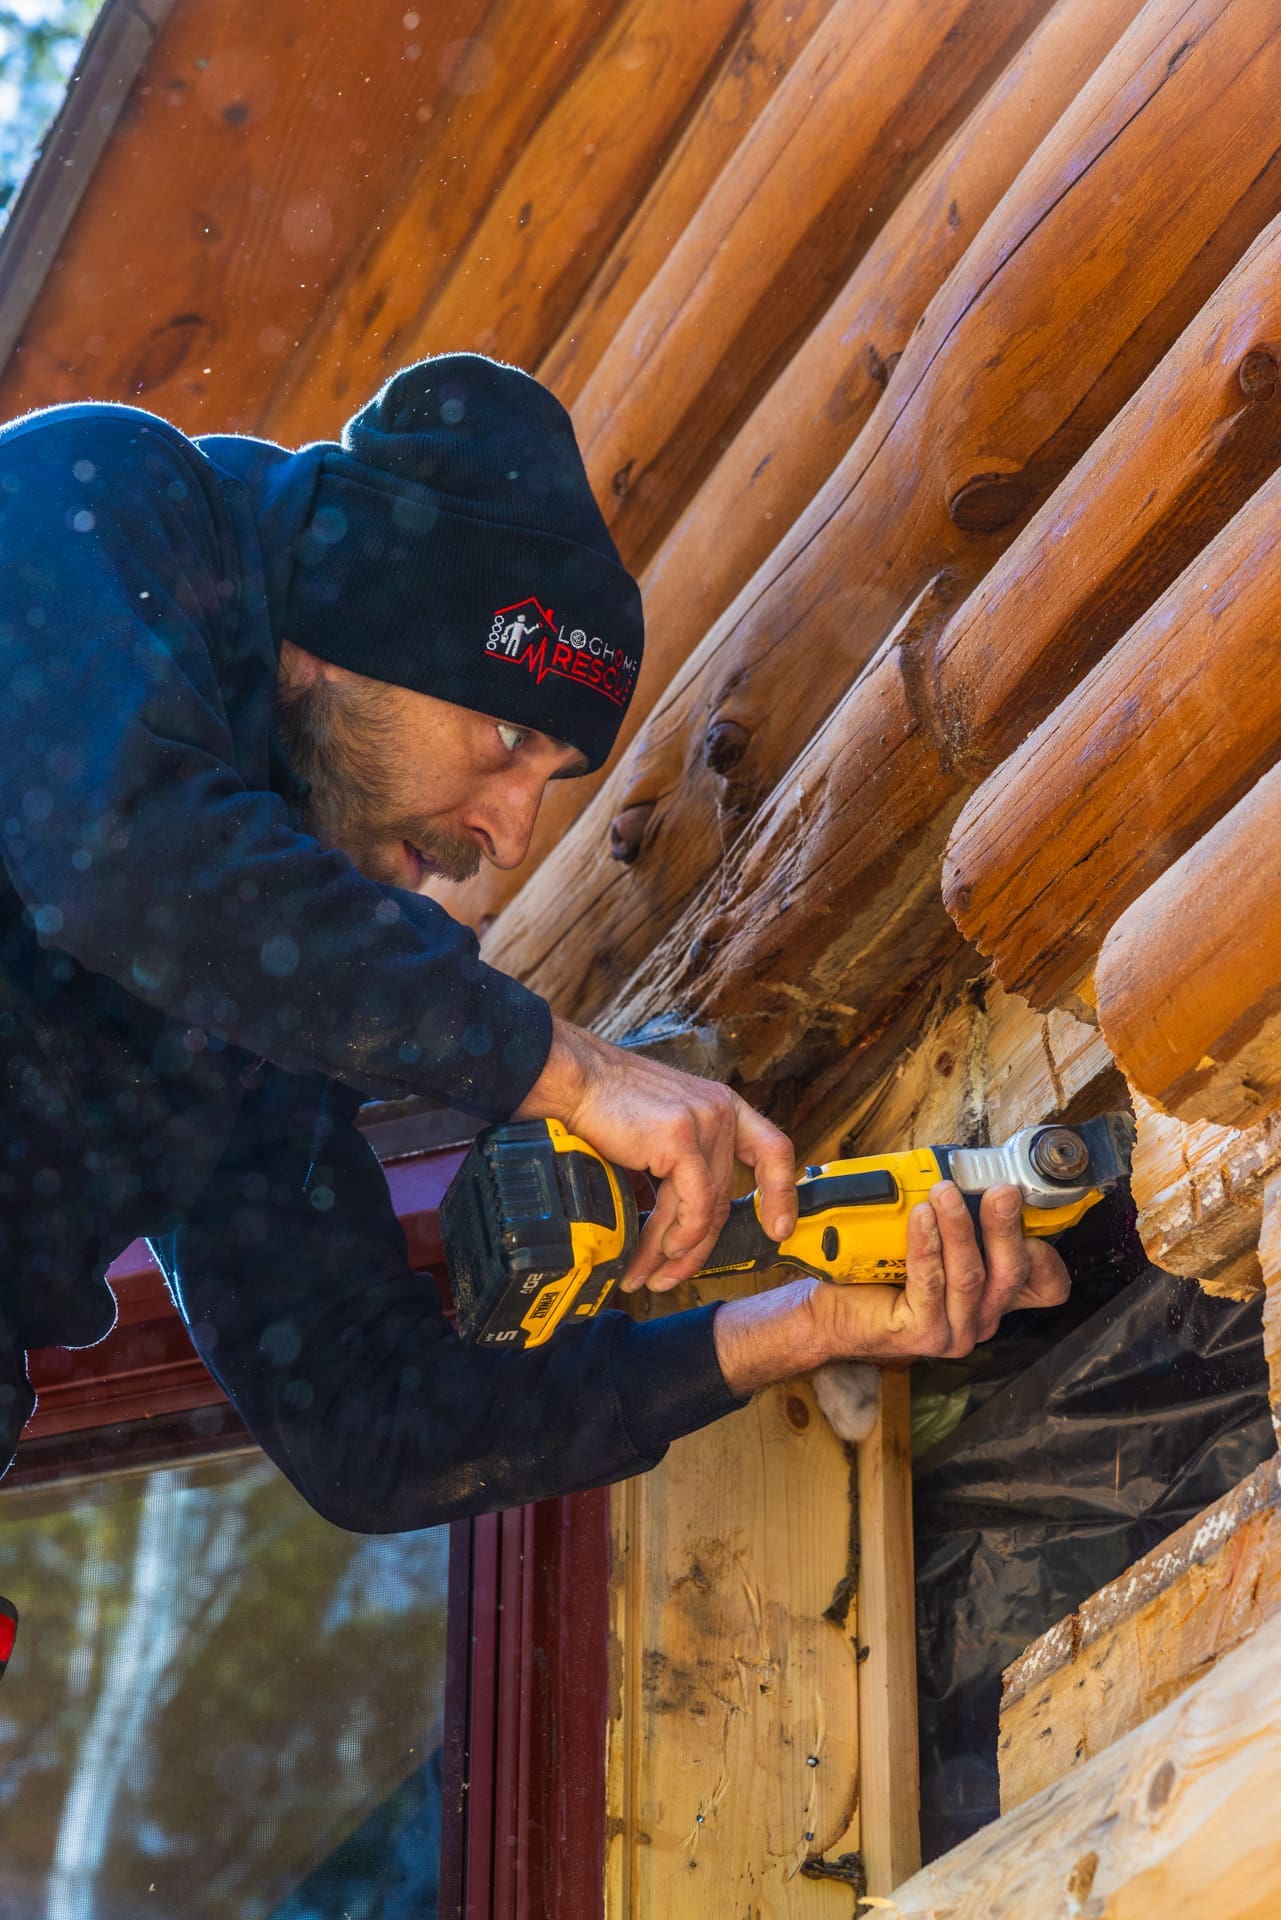
Carpenter Mike Gagne cut and chiseled out the deteriorated exterior wood, then fitted replacement half-log sections around the bay window.
Following the damage back to sound wood
Opening the logs revealed more about the extent of the decay. As Mike worked, the resistance of the wood and the material coming away helped him distinguish deteriorated areas from sound wood.
The replacement sections were foamed, sealed and secured with log screws to connect them to the remaining wall. The log rot repair was still underway when the project was filmed.
For a closer look at where moisture can collect and damage logs, see the National Park Service guide to assessing log deterioration.

Repair work on site
The crew works on the damaged exterior logs around the bay window.
Project photographs
A selection of views from this project. Open any photograph for a closer look.







What does this Moultonborough log rot repair demonstrate?
This log rot repair focused on exterior wood around a bay window while the homeowner wanted to preserve the room’s interior finish. The crew removed deteriorated outer material and fitted replacement half-log sections into the affected areas. That is the work shown in this case study. It should help you explain the kind of problem you have, but it does not establish the scope of repair for another house.
When you contact Log Home Rescue, describe whether the damage is beside a window, near a door, along a lower wall, or somewhere else. Mention any interior surfaces you want protected. Those details give the team a clearer starting point for discussing your project.
For a useful log rot repair comparison with your home, identify the feature beside the damage and the side of the wall you can see. A bay window, an exterior corner, and a long uninterrupted wall each give the contractor different information about the location. Mark the area on an overall photograph so there is a shared reference when you discuss the work.
In this case, the homeowner’s preference about the interior was an important part of the brief. If you have a similar priority, spell it out before a scope is prepared. Describe any visible interior wood, painted surfaces, trim, or built-in features beside the affected area. The team can then discuss how that preference relates to the condition it finds.
You can organize your first message around four points. State where the property is, what you have noticed, what you know about earlier work, and what you want to preserve. If you are arranging work for someone else, explain who owns the property and who will make decisions about the scope. Those practical details help move a log rot repair inquiry toward an assessment.
Keep the existing project images separate from photographs of your own home when sending a request. You can refer to this bay-window repair as an example of the approach you want to discuss, then provide the images that show your actual conditions. This gives the team a clearer brief and makes later questions easier to answer.
Can log rot repair preserve most of the existing wall?
The answer depends on how much sound wood remains and how the affected pieces fit into the building. In this project, replacement half-logs allowed the crew to work from the exterior while retaining material on the inside. A similar approach may be worth discussing if preserving interior finishes is important to you. Other conditions may call for a different repair plan.
A photograph can show where the visible damage is, but it cannot establish the condition of every concealed surface. Ask the contractor to explain what can be assessed before work begins and what may become clearer as damaged material is removed. A useful log rot repair scope should account for that uncertainty.
Ask for the proposed log rot repair area to be described in plain language. Useful distinctions include the visible exterior section, the material behind it, the surrounding logs, and the interior-facing surface. A drawing, marked photograph, or written description can establish which areas the contractor expects to work on and which areas will need further assessment.
If two proposals describe different amounts of replacement, ask each contractor what observations led to that recommendation. One may be allowing for more investigation or a wider area of work. You need that explanation to understand how the scopes relate to your home. The number of replacement pieces alone tells you little about the reasoning behind a log rot repair plan.
Discuss the decision point if the condition looks different once access is available. Find out who will explain the finding, how any change in scope will be documented, and when your authorization will be requested. Agree on the communication process before work begins so you know how questions about concealed areas will reach you.
Also clarify what the proposed approach means for the adjoining finish. A localized carpentry repair may still require a separate conversation about stain, trim, sealant, or appearance around the repaired area. Ask which of those items is included in the same proposal. This lets you evaluate the repair as part of a complete project, with a clear understanding of any later work.
What information helps estimate log rot repair?
Start with the town where the property is located and a short description of the affected wall. Include an overall view showing the window or other nearby features, plus closer photographs of the damage. If the same area is visible inside, mention whether you have noticed staining, changes in the finish, or other concerns there.
Tell the team what you know about previous repairs and any moisture problems. You do not need to diagnose the cause before reaching out. The goal is to give Log Home Rescue enough context to discuss an assessment and the next step. Keep a copy of the photographs so you can refer to the same areas when reviewing a proposal.
Log rot repair photographs work best when the contractor can connect a detail image to its location on the building. Take an overall view of the relevant wall, then provide a closer view of the same area from a position you can reach comfortably. Use simple filenames or a short note to identify which images belong together.
Existing records can also make the initial discussion more productive. If a previous invoice describes replacement logs, sealing, or finish work near the current concern, include the relevant information. If you have no records, say that clearly. An accurate statement about what is unknown is more useful than an estimated product name or an assumed repair date.
Provide your contact details and explain whether you live at the property full time, visit seasonally, or are coordinating access from another location. If someone else will meet the team, identify that person’s role. Discuss how the contractor should contact you with questions and who can authorize any agreed changes.
For log rot repair, the first exchange may lead to more questions before a scope can be defined. Keep the same description of the problem in your messages so details remain consistent. If you notice a new issue while arranging the assessment, add a dated photograph and explain what changed. This creates a straightforward record the team can use when discussing your property.
What should a log rot repair proposal explain?
Look for a clear description of the area being assessed, the proposed repair approach, and the work included around the repair. For a window-area project, useful questions include how the replacement wood will fit the existing profile, what interior finishes will be protected, and what sealing or finishing is included. Ask which items remain subject to inspection.
Discuss how additional damaged wood would be handled if it is uncovered during the work. Clarify whether the quote includes related finish work, cleanup, and any follow-up visit. These questions help you compare the scope of proposals rather than comparing totals that may cover different work. The final scope should reflect your own building’s condition.
Break the log rot repair proposal into the parts that matter to you. The main carpentry work is one part; access, protection, preparation, finishing, and cleanup may be described elsewhere. Read those sections together and ask about anything that is unclear. A clear proposal helps you understand how the property will be handled before, during, and after the repair.
If the work is close to a window, ask whether the scope includes work on the adjacent trim or other surrounding components. Explain whether you are also planning window replacement, painting, or another trade’s visit. The contractor can discuss how the proposed sequence relates to those plans and whether coordination is needed.
Confirm how scheduling updates will be communicated. Ask who your main contact will be, how you will receive information about progress, and how decisions will be recorded if you are away from the property. For a project with several stages, ask which stage each payment or completion discussion refers to and review the written terms before agreeing.
A log rot repair quote should also make its assumptions understandable. Discuss which observations it is based on and which conditions remain to be confirmed. If an allowance, exclusion, or separate scope is mentioned, ask how it affects the overall work you want completed. Keep those answers with the proposal so you can review the same information when deciding how to proceed.
How is replacement wood matched during log rot repair?
Replacement work needs to be considered alongside the existing log shape and finish. In this Moultonborough project, the carpenter fitted half-log sections around the bay window. Ask how new sections would be shaped for your wall and how the finish would be addressed after the carpentry. A repair plan and a finish plan are closely connected, even when they happen in separate stages.
If appearance is a priority, provide clear photographs of the surrounding wall and explain which areas are most visible. Ask what the proposed work includes and what variation may remain between existing and replacement material. Discuss expectations before authorizing the work so both you and the contractor are working toward the same result.
Bring the log rot repair discussion back to the appearance you expect from the repaired wall. Explain whether your priority is preserving the existing finish, preparing for a broader refinishing project, or making the repaired area less noticeable within the current exterior. These goals can lead to different conversations about the finishing stage.
Ask to review how the replacement profile will relate to adjacent logs. Photographs can help identify the shape you are trying to retain, particularly near corners, trim, and the bay window. The contractor should explain which aspects of that appearance can be addressed in the proposed carpentry work and which depend on later preparation or finish selection.
When reviewing finish options, ask what you will be approving and at what stage. You may want to discuss an example, a sample area, or another method the team uses to communicate an intended appearance. Record the agreed choice along with any relevant product and color information. This gives both parties a common reference for the finishing discussion.
The goal is to set clear expectations about the complete log rot repair project. New material and existing material have different histories, and the proposal should explain the approach being offered for your wall. Ask questions while the scope is being developed so decisions about appearance can be considered alongside access, preservation of interior finishes, and the work itself.
What should I discuss after log rot repair?
Ask the team to explain the completed scope and any remaining steps, especially if staining or related work will follow the carpentry. Keep the proposal and project photographs with your home-maintenance records. They can help you remember which sections were worked on and provide useful context if another contractor inspects the building later.
Also discuss the conditions around the original problem area and what the team recommends observing over time. For more background on how log buildings are assessed, the National Park Service’s guide linked above covers deterioration and repair considerations. To discuss log rot repair at your property, use the quote request below and include your town, the affected area, and the finishes you hope to retain.
At the end of the log rot repair work, ask the contractor to walk through the agreed scope with you or provide a clear update if you are away. Refer to the same marked photographs or description used in the proposal. This helps connect the completed work to the area and stages you originally discussed.
Keep any product records supplied for the repaired area, including information about stain or sealant where applicable. Note whether finishing was completed as part of the repair or is scheduled separately. If another contractor will carry out a later stage, ask what information should be passed along so the handoff is clear.
A useful maintenance record can be simple. Save the date, the proposal, the contractor’s contact information, and a few photographs showing the repaired area in relation to the rest of the wall. Add any written recommendations the team provides for your particular building. This record gives future discussions about log rot repair a more reliable starting point.
If something later concerns you, use that record when contacting the contractor. Explain where the change is and when you noticed it, and provide current photographs where possible. Keeping communication specific helps the team understand what you are asking about. For an initial project inquiry, the request button below leads to the contact page where you can share your location and arrange the next conversation.
How can I use this log rot repair case study when talking to a contractor?
Point to the part of the project that relates to your question. The bay-window location may be relevant, or you may be interested in the replacement half-logs and the effort to preserve the interior surface. Explain which feature you are comparing with your home so the contractor understands the reason you shared the example.
The photographs show different views of the work area. Look at the wider images to understand where the repair sits in the wall, then use the closer images to discuss the carpentry shown. If your wall has a different layout, identify that difference in your request. The team can then discuss your own conditions alongside the example.
You can also use the case study to ask about the boundary between carpentry and finishing. Ask how the proposed replacement work on your home would connect with surrounding logs and what finishing would follow. Keep the answer with your quote so those stages remain clear.
The most useful outcome of sharing a case study is a more specific conversation. Describe the part that interests you, show the relevant area of your property, and ask how the approach would be assessed for your building. That gives a log rot repair specialist a practical starting point for discussing the work you want considered.
Need log rot repair?
Tell us your town, where you see soft or damaged logs, and whether any interior finishes need to be preserved. We’ll use those details to discuss an assessment.